Happy Valentine's Day! Lauren here, and I love this month since it's all about sweet treats & little love notes, celebrating our significant others and also our girlfriends. I usually package up these heart cookies around Valentine's Day, but this year I was inspired to use my mom's sugar cookie recipe to create something new.
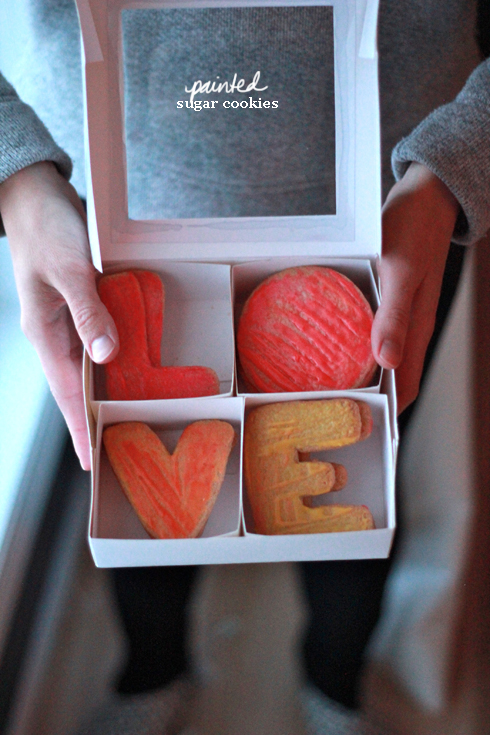
Inspired by Jen's LOVE prints and colorful paintings, these painted LOVE cookies send a sweet message to their lucky recipients. I am not a gifted baker, so I promise they're incredibly easy too...they'd even be fun to make with kids! Keep reading for the rundown...
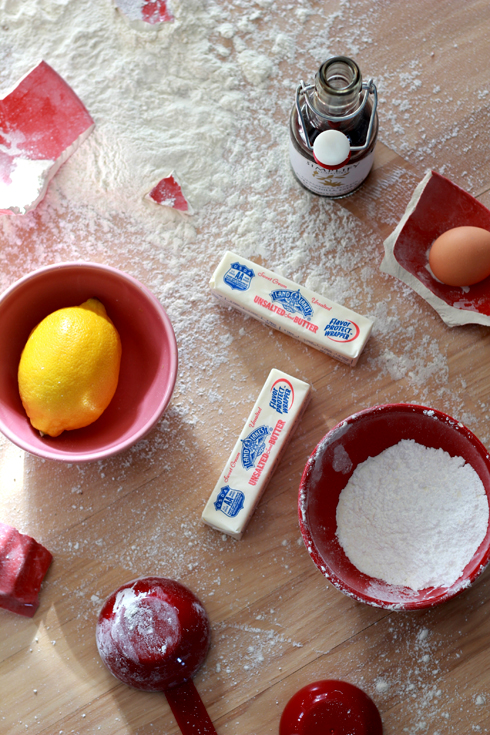
Whoops: I had a little kitchen accident and dropped one of my Anthropologie bowls, filled with flour, all over the floor. So I made the most of my mess and just photographed my ingredients right where it landed! My favorite part of these sugar cookies is the lemon...the lemon rind and juice add a subtle citrus flavor that really kicks them up a notch.
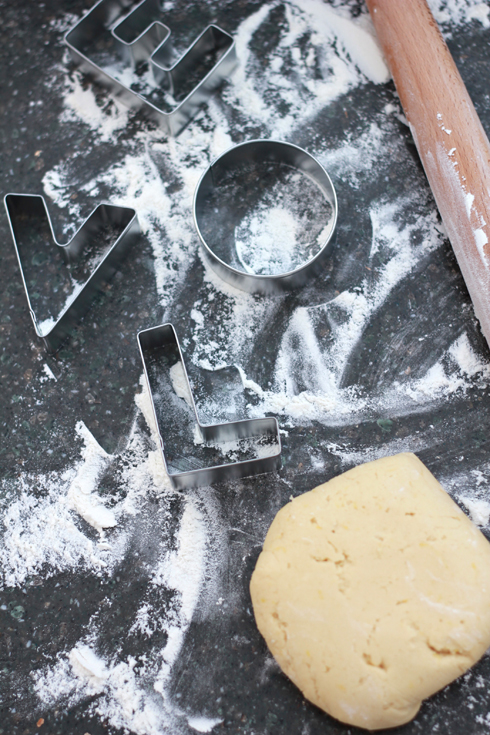

I ordered this set of alphabet cookie cutters to create my L-O-V-E. Another fun option would be to use X-O-X-O.
For the dough:
1 cup butter, softened
1 3/4 cups powdered sugar, sifted
1 egg
2 teaspoons vanilla extract
Finely grated rind of 1 lemon
2 tablespoons lemon juice
2 1/2 cups all-purpose flour
1 teaspoon baking soda
1/4 teaspoon salt

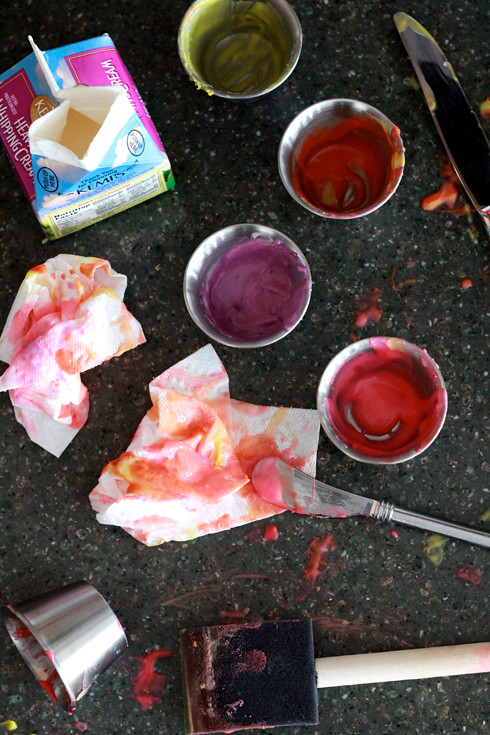
As you can see, things may get a little bit messy, but that's okay! It's time to let your inner artist come through and not worry about making these perfect. Experiment with layering different colors on the paintbrush and trying different.
brush strokes. I used the edge of a sponge paintbrush we had on hand, but I'd actually recommend using a smaller art paintbrush. Just make sure it's brand new and hasn't been previously used with real paint.
For the icing:
1 cup powdered sugar
1 tablespoon heavy whipping cream
Food coloring
Paintbrush
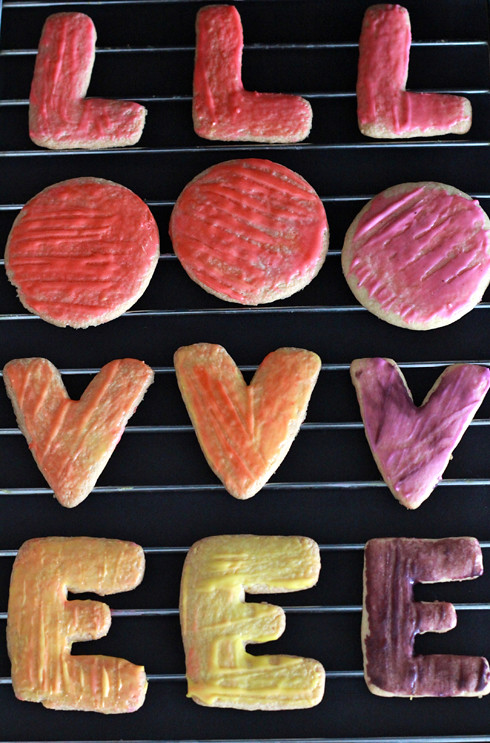
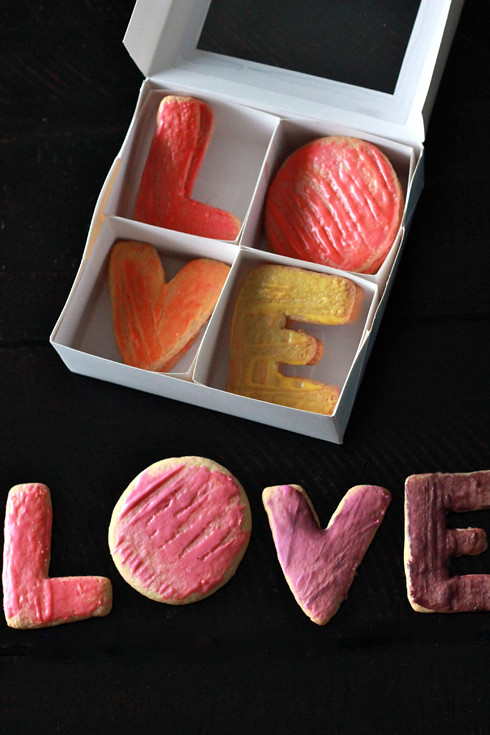
The final touch: See-through boxes that ensure your painted cookies are perfectly packed for gifting to loved ones at Valentine's Day.
Makes about 3 dozen.
Instructions:
1. Cream butter and powdered sugar until light and fluffy. Beat in egg, vanilla, lemon rind, then lemon juice. Add flour, soda and salt; mix until blended.
2. Divide dough; wrap each half in plastic wrap and pat into a disc. Refrigerate several hours until firm.
3. On a floured surface, roll one disc about 1/4 inch thick. Cut with letter-shaped cutters (ex. LOVE or XOXO).
4. Transfer to a lightly greased cookie sheet and bake in a pre-heated 325-degree oven for 12-15 minutes, until barely browned. Cool on wire racks and repeat with remaining dough.
5. To decorate, stir 1 tablespoon of cream into 1 cup of powdered sugar. Divide among small bowls and use food coloring to make intense shades.
6. Use a paint brush to paint the cookies with the icing, adding a little extra cream into the icing if needed to make it thinner. Wipe the paintbrush off in between, or even let a little color remain on the brush to overlap shades. Go back over each cookie with extra brush strokes.
7. Make sure you let the icing fully dry on each cookie, then stack into boxes.
-Recipe & images by Lauren Craig


love this idea! very cute.
ReplyDeleteHappy Valentine's Day! I like that you are keeping it real in the kitchen, mine is usually a mess after I bake. The cookies are adorable:)
ReplyDeleteAlpha cookies are so cute, you can spell anything with them.
ReplyDeleteHappy Valentine's Day!
M.
These are adorable...and SO fun to eat, I'm sure!
ReplyDeleteAlyssa
The Glossy Life
looks simple and cute..thanks for sharing ! happy valentine's day ! : )
ReplyDeletekisses!
nhamiii! :) *
ReplyDeleteAmazing idea!!
ReplyDeleteHappy Valentine's Day!!
Adorable! I'm definitely making these next year for Valentine's Day
ReplyDeleteSo adorable - i LOVE this idea:)
ReplyDeleteIn love with your LOVE cookies!
ReplyDelete