Showing posts with label my home.. Show all posts

Floating Cabinets Are Done....

Thank God Friday is finally here - aren't you glad?? Today's post is about a DIY project we worked on in our home. Check it out....

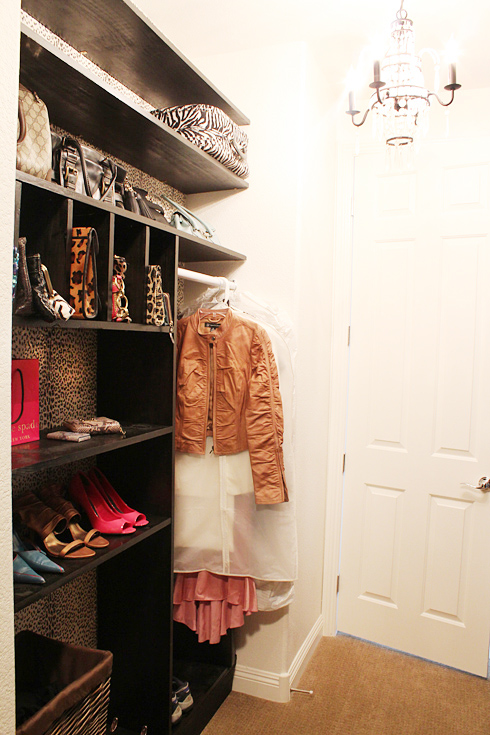
So after my master closet was done, we decided it was time to tackle the dining room area. The wall across from the table looked TERRIBLY lonely & sparse. I'd been on a SERIOUS & frustrating hunt for a sideboard & came up with nothing every time! Well, I won't lie, I found a few, but they were well OVER my budget! 

After seeing this post on Apartment Therapy, I thought it would be a great idea for our space! So, we tried IKEA!

CABINETS

Ikea Akurum cabinets 36" wide x 24" high with white high gloss Abstrakt doors.

We placed them 8" off the floor. The IKEA rail system needed at least 3 stud screws with 3 toggle bolts in addition. Total dimensions are 12' x 24"H x 13"D.  We also had end caps but decided not to install them because the ends were close enough to the walls.


PULLS:

I decided that instead of using standard IKEA pulls or knobs .... I was going to try something different.  Something that would give it less of an IKEA look & more of a high-end feel. I found the perfect pulls while reading Erika's kitchen renovation post. She's got such great style that I didn't even question it & purchased them via myknobs.com.  I bought 8 brushed brass pulls for a total of $61.  So, what do you think?? 


TOP PIECE:

As some of you know, these cabinets have annoying & visible screws at the top - so we had to figure out a way to cover them... They're ugly. We went to a local lumber yard & bought a 13 foot x 14" piece of poplar with no visible knots & had it milled. Cost of the wood - $28. The depth had too much overhang so my guy VERY carefully trimmed the back with a circular saw to give us a 1/8" overhang.


FOR THE WOOD STAIN:

We used a mixture of Jacobean and Ebony Minwax stain (in all, we only used 2 small cans) to give it a brown-black finish. Remember to sand it before and between all coats. A third/final coat we used an Antique Walnut Minwax Polyshade (thin layer of polyurethane) to give it a protective finish. The top is glued and screwed (remember to use ones that won't pierce the top) to the cabinets.


BEFORE:


AFTER:


MY COMMENTS:

My guy was amazing- he managed to build the entire thing & make it look flawless. 

One ISSUE.... The entire piece stretches about 12 feet long. Soooo guess what!!?? I'm at a LOSS for what kind of accessories to put on top?!? All I have is books & a vase, but I'm open to suggestions. Any ideas?!?!?!? Pls help!


-images by jen ramos


Google+ Pinterest

My Master Closet is Done....

Don't hate me because I'm beautiful...remember that commercial with Kelly LeBrock? - Well, don't hate me because my closet has gotten BIGGER! Ha! Ok, so it's done...& I finally feel like I have a place for everything!  It feels amazing to be this organized, know what I mean? 


I think I would FREAK OUT everyday if my closet wasn't neat & organized!! Creating extra shelving IS DEFINITELY a great way to keep things in place & organized...I can't say it enough. 

For this side of my closet, I decided to add some leopard print wallpaper that I purchased online via Interior Mall

I like that it adds to that boutique look that I was going for & also adds some depth to this wall. Having so many clutches- I needed a specific place to display them.  We figured that building little cubbies made sense and it would feel like I was shopping for clutches, which I love!  


I also saved a section to the right hand side of this wall for longer hanging items. The boards were all purchased at Home Depot and stained to match the rest of the closet which gives it a consistent feel. The bottom half of the closet is reserved for my clothes hamper and maybe a pair of boots. 


It's an UGLY hamper, so I may end up buying another one that's more aesthetically pleasing & still functional!


BEFORE


AFTER


Oddly enough in this month's Lonny Mag - there's a closet with a wallpaper background...! See it here.


BIG Thanks to my guy for all the work he did....he's awesome! 


Update below: People kept asking me where my clothes are. Here's a pic of the left side of my closet where most of my hanging items & other items are in drawers....this side is made up of IKEA cabinets.


So, tell me...what do you think?  I'd love to hear your thoughts & questions...


-images by jen ramos


Google+ Pinterest

My Latest West Elm Purchase.....

Got a new cushion (which was on SALE) from West Elm and I also picked up their hand knit throw which is soo amazingly soft! I had been contemplating on getting this for awhile now & it's finally on the sofa. A couple years ago I really wasn't into West Elm, it's amazing how my taste has evolved. Now, I can't get enough of their store! The sheepskin throw hanging on the back of my sofa is from Ebay, I ordered two of them  ....they're the ones from IKEA. 

Have you purchased anything from West Elm lately? If so, what?

(click on photo for larger image)
 

image by jen ramos

 
Google+ Pinterest

Home update...shelving.

Finally got my shelves from Target, however I do not recommend them. My guy had to put liquid nails on the hangers because they wouldn't stay in the wood. Basically, the wood was too weak to hold them in. So, I'll be looking at IKEA shelves next time I'm in AZ. Enjoy your Fri, Sat. & Sun. everyone! I'll be pretty busy this weekend, but you can catch me on my Twitter - tweeting away whatever is on my mind at the moment.


*By the way, this shot was taken with my new Canon Rebel xs - loving it so far!
Google+ Pinterest