Showing posts with label stephanie gerber. Show all posts

DIY: Trim Wrap Bracelet

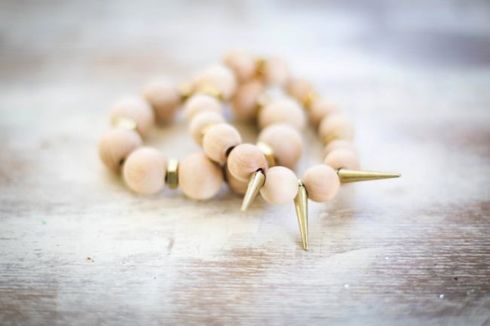
Hi, it's Stephanie from Henry Happened back with another DIY. I did tell you I loved bracelets, right? Well, I wasn't lying! Read on for the tutorial on how to make the easiest wrap bracelet ever. These DIY bracelets are great for teenagers!

 AZ0A1643 

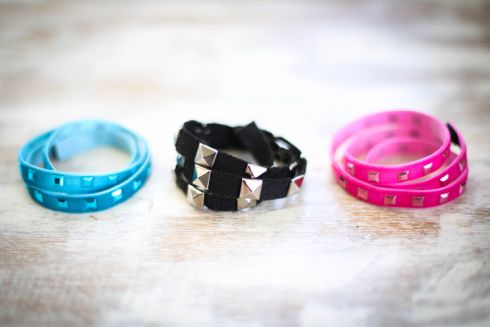
 Have you ever roamed the trim section at JoAnns? No?! Well, you might be surprised at the selection of ribbon, lace, and even fur trim you can find. The bright colors of this trim called to me (yes, it even has studs!) so naturally I found a way to make it into a simple wrapped bracelet. 

IMG_3872 

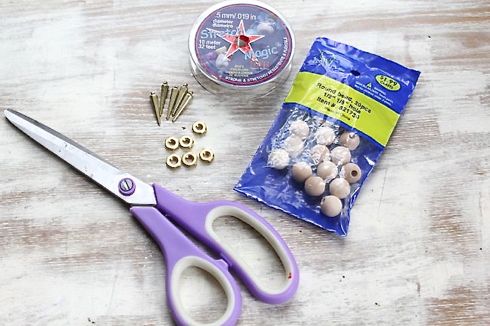
What you'll need for your own wrap bracelet:
  • About 1/2 a yard of whatever trim you like. Go with a neon studded one or try a Greek key, floral or Baroque pattern. I'm telling ya - there's a ton to choose from!
  • Sticky back Velcro
  • Scissors
IMG_3875 

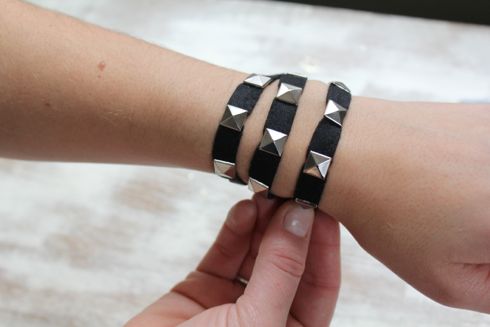
First, measure your wrist with the trim. I like a 3 wrap bracelet but position it how you like it on your arm and then cut the length. 

IMG_3877 
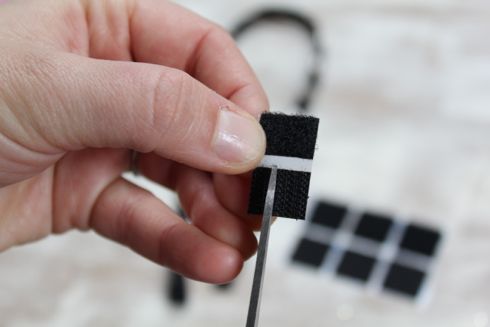
Then take the Velcro and cut a piece to fit the size of your trim. 
 IMG_3878 

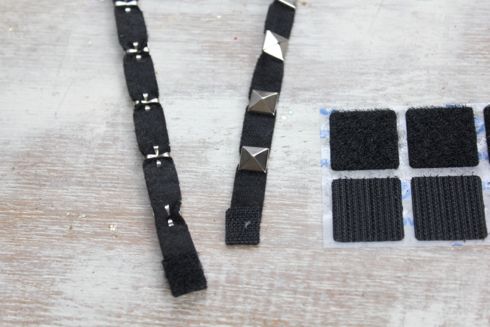
Attach the sticky side to each end of the trim, and, voila!, you are done. The Velcro closure is a bit of a miracle because I can never manage to get my bracelets on with one hand. Please tell me I'm not the only one? 

AZ0A1642 

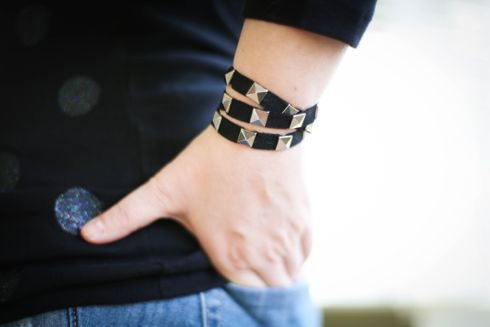
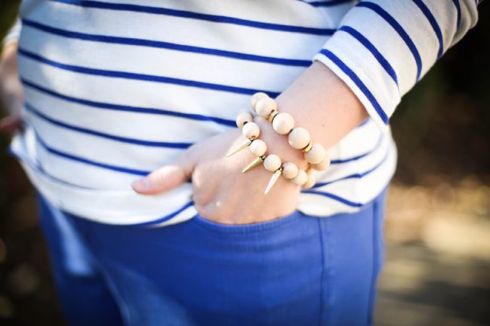
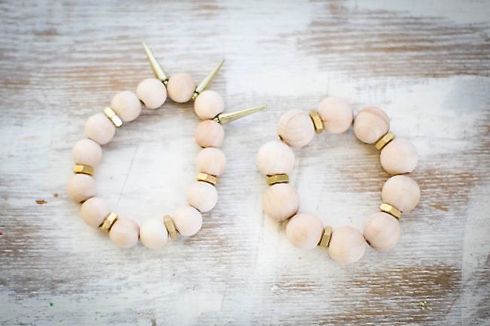
Wear the bracelets on their own or make a couple and stack them together.

 IMG_9236 

What kind of bracelet stack are you planning to wear this spring?


-post and images by stephanie gerber

Google+ Pinterest

DIY: studded shirt

DIY Studded Shirt Hi! I'm Stephanie from Henry Happened, and I'm excited to share fashion DIYs here on MBG as one of the newest contributors. If you have ideas on DIYs that you'd like to see, definitely let me know! For our first project, we're updating an everyday basic - the white button up!

DIY STudded Shirt 

When it's cold outside I am a big fan of layering. At any given time I'm usually wearing about three shirts! So I like my layers to have a little pizzazz. An easy way to spruce up a plain button up is with studs. This DIY Studded Shirt is simple (no prongs to stick your fingers!), chic and easy on the wallet too.

Fair warning: Iron on studs are a little addictive. They're so easy you'll want to stud everything! And before you know it you'll be half way to buying a Harley. 

iron on stud tutorial 

You will need:
  • A plain button-up shirt. I like the look on a white shirt but it would also look great on denim.
  • Iron on studs. You can find these at any craft store.
  • An iron
DIY Studded Shirt
DIY Button-up Shirt with Studs 

Start by cutting the studs into individual pieces. Then remove the black backing (but not the top plastic!) and place them evenly along the middle of your sleeve cuffs.

 Iron on Studs 

Then carefully flip over the sleeve so you don't mess up the placement of the studs. And iron according to the package directions. 

Studded Shirt Cuffs 

When the studs have cooled (trust me they're hot!) you can peel off the plastic on top. That's it! 

DIY Studded Collar 

 I also added three studs to my shirt collar. Again, all you do is stick them on the fabric in the pattern you want and iron them on. So easy!  

Are you a fan of studs? What would you put them on?
Google+ Pinterest

DIY: Bead and Hardware Bracelet

Hello Made by Girl readers! It's Stephanie from Henry Happened back with another DIY project. If there's one thing I love, it's making bracelets. 

And these are so insanely easy you won't be able to make just one. Read on for the how-to! 

AZ0A1656 AZ0A1727 

With spring soon upon us I wanted a bracelet that was light, simple and stackable. Doesn't this time of year make you want to clean out all the closets and purge everything? 

When you're spring cleaning you might just find you already have most of the materials you need for this DIY. If not, it's a good excuse for a trip to Home Depot.

DIY Bead and Hardware Bracelets

IMG_3879 

To make your own bracelets you will need:
  • Stretch Magic (found at any craft store)
  • Small wooden beads (Hobby Lobby is my favorite source for these)
  • 8mm gold hex nuts
  • Gold spikes are optional but make a fun addition
  • Scissors
AZ0A1729
IMG_3452 

Start by stringing your beads and hex nuts onto the Stretch Magic. This stuff is super easy to work with. It feels kind of like fishing line but with stretch. My pattern was two beads followed by a hex nut, using about 10 beads. 

Measure your wrist to make it the length you need. Give it a bit of extra room though so it's not too tight. If it's too small the beads will stretch apart too much, exposing the cord.

 IMG_3456 

Once you are done stringing cut the Stretch Magic and knot it. Follow the package directions on making the knots because you don't want it to come undone.

 IMG_3458 

Clip the ends and you're done! Then you'll say, 'That was so easy, let's make more!' And before you know it, you're addicted to making bracelets. There really ought to be a hotline for that. 

AZ0A1655 

You can make all kinds of patterns with the beads and hex nuts. And definitely add some spikes for a little edge. You can't go wrong with spikes, right?


 -images Stephanie Gerber


Google+ Pinterest